I decided to learn JavaScript with the goal of building an accessibility overlay. I wanted to prove that a) it would be so easy even I could do it, and that b) it would be terrible. I achieved both.
One of the joys of working at Silktide is Silktime, where twice a year each member of our team is encouraged to take a week out of their normal duties to learn something new. Here’s what I learned (in the very loosest sense of the term).
What’s an accessibility overlay, and why build one?
An overlay is added to a website to give users control over things like font sizes, colors, and other functionality. They override the website’s default code, but they don’t help anybody improve accessibility.
This is because they break the standard functionality included in screen readers like JAWS, they don’t affect the underlying web code at all (and so do not solve any accessibility problems) and they won’t protect against lawsuits.
In fact, overlays don’t work at all.
I chose to build one because generally when learning to program, it’s good to set yourself the goal of building a specific project. It forces you to think about the requirements and the features you need to fulfill them.
I also wanted to show what a total scam they are, because if a marketer with barely any experience of coding can make one in a couple of days, that tells you everything you need to know about whether you should buy one or not.
To be very clear, Silktide does not provide an overlay, nor will we. You cannot automatically fix accessibility with AI and two lines of code – computers just aren’t that smart yet.
You can consider this blog post for informational purposes only.
Getting started
A while back I learned HTML and CSS and so I know my way around a web page, but I’d never really learned JavaScript.
The first thing I needed to do was plan out the functionality of my overlay. Here’s a list of the things I wanted it to do:
- Ability to turn the overlay on/off
- Readable font toggle
- Highlight headings toggle
- Highlight links toggle
- Adjust font size
- Adjust line-height
- Adjust letter spacing
- Align text center/left/right
- Dark/Light/Default contrast modes
- Toggle monochrome mode
- Highlight text under the mouse pointer
- Simulate blurred vision
For a complete beginner at JS, perhaps I was being a little ambitious with learning JS and getting all this done in 4 days. However, I’m pleased to say I managed it.
What is JavaScript?
JavaScript (JS) is the programming language web developers use to make a page dynamic. It works with HTML (the code that creates a web page) and CSS (the code that changes the page’s style) to make things move, add functionality, and submit information.
It gives dynamic functionality to otherwise static elements on a page, and basically powers most of the web.
Without JS, the web as we know it wouldn’t work.
You can use JS to find and manipulate all the things on a web page. You can take an element, or collection of elements, and perform an action. For example, you might find all the headings, extract their font size, and then make them bigger or smaller.
To get this to work, you can connect these functions to a button. This is what makes JS dynamic.
Building a test page
There were a few steps to take before actually getting started with the programming.
Step 1 – Create index.html
I needed a page with some test content. I took a copy of a Silktide blog post and created a local version. I wanted to include the following elements:
- headings (h1, h2, h3, etc.)
- paragraphs (p)
- lists (ol, ul, li)
- images (img)
- links (a)
- code (code)
Step 2 – Add basic styling
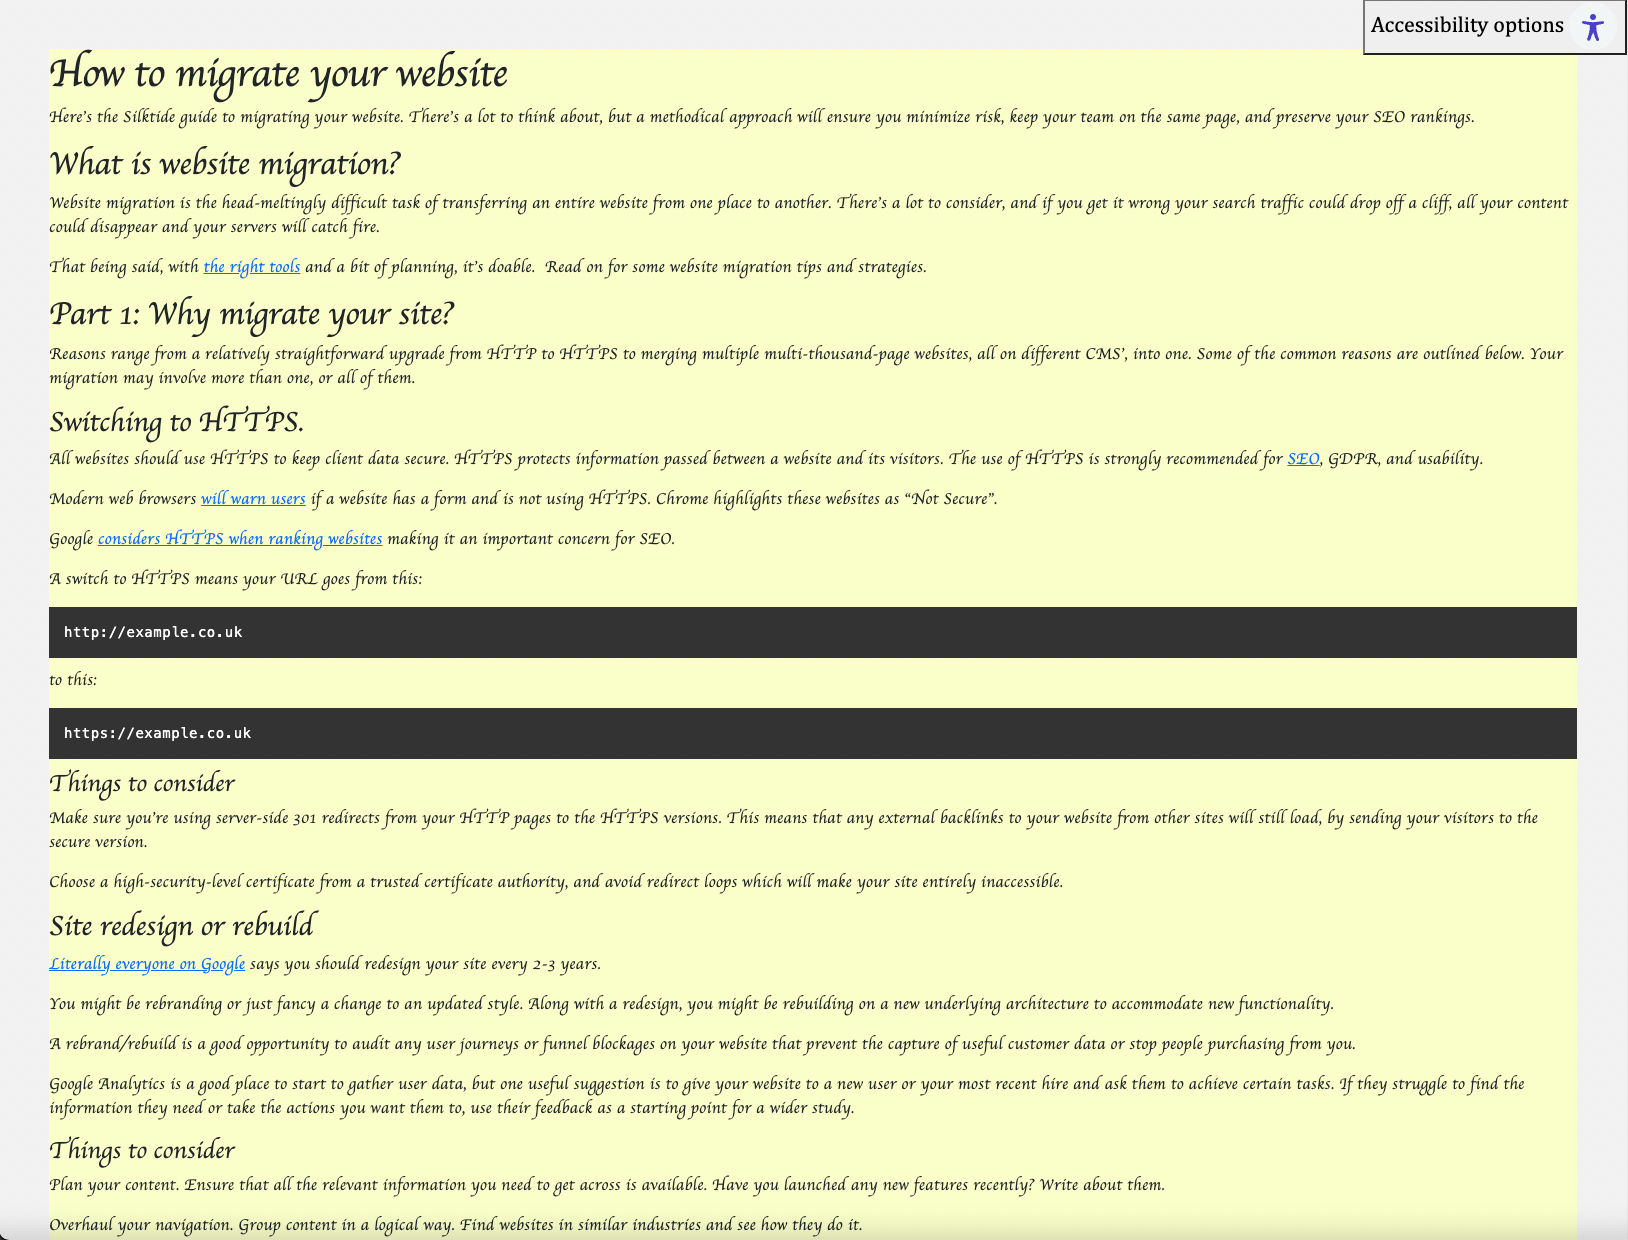
It didn’t need to be pretty, and as you can see in the image below, it wasn’t.

I started by importing some basic bootstrap and normalizing CSS, then made some basic styling on the font styles, colors, and sizes.
I also created styling CSS for the overlay widget which I built next.
Building the overlay
I created overlay.js, a JavaScript file that handled the creation of the overlay, all the elements within it, and its functionality. There are some examples of functions in the code blocks below. Don’t worry if it looks complicated – you don’t really need to understand what’s going on here.
This particular snippet makes the whole page grayscale by adding a CSS class monochrome to the page body. The monochrome class adds a grayscale filter across the whole page, which is a built-in CSS class for most browsers.
All of this is linked to a toggle button inside the overlay widget.
// turns a whole page grayscale filter on and off by adding or removing a CSS class to the body of the page

function monochromeMode() {
  if (document.body.className == "monochrome") {
    document.body.classList.remove("monochrome");
  } else {
    document.body.className = "monochrome";
  }
}

.monochrome {
  filter: grayscale(100%);
  -webkit-filter: grayscale(100%); /* Chrome 19+, Safari 6+, Safari 6+ iOS */
}
Adding the overlay to the web page
To get it running, I had to add the overlay.js script to the web page, so I did that by using the script tag. All this does is reference JavaScript files located elsewhere (that can be either on your computer, on your web server, or someone else’s web server.
<script src="scripts/overlay.js" defer></script>Finally, I imported all the different styles. These included CSS for:-
- the page itself
- the overlay and the override styles that the overlay uses to change the page
    <link rel="stylesheet" type="text/css" href="css/style.css"/>
    <link rel="stylesheet" type="text/css" href="css/overlay.css"/>
Getting it working!
To illustrate how terrible this all is, a video might be the best way.
This video shows a user clicking a button to turn on and off the overlay widget, which appears when you click it. Inside the overlay are a number of list items, each with a button next to them. Some (like the readable font toggle) have a simple on/off button, while others, like font size, have a plus and a minus button.
The video demonstrates some of the functionality as follows:
- Toggle the overlay to open
- Turn on readable font
- Make text bigger and smaller
- Turn on link highlighting
How accessible is it?
I tried to navigate to the overlay using the keyboard, and while it was possible, it wasn’t the best experience for the following reasons:
- It’s at the end of the page, so you have to tab through all links to get to it
- Once opened, you have to leave it and re-enter it with Shift-Tab to get to the options inside it
- It doesn’t make the page more accessible
In conclusion
This was a fun little project but I’d have to conclude the following three points:
- Marketers have no business trying to code anything
- Marketers have no business trying to design anything
- Overlays are still terrible
Accessibility overlays, or “fix all your accessibility problems automatically with a couple of lines of code software” don’t make your website accessible. In fact, they’re no defense against accessibility lawsuits under the ADA – if you’re in the US.
So, what’s the alternative?
There’s only one, really. You need to find and fix your accessibility issues at source, whether that’s in code or in content. It’s the only way to make a better experience for everyone, which, when you’re building a website, should be your primary goal.

