How the banner functions
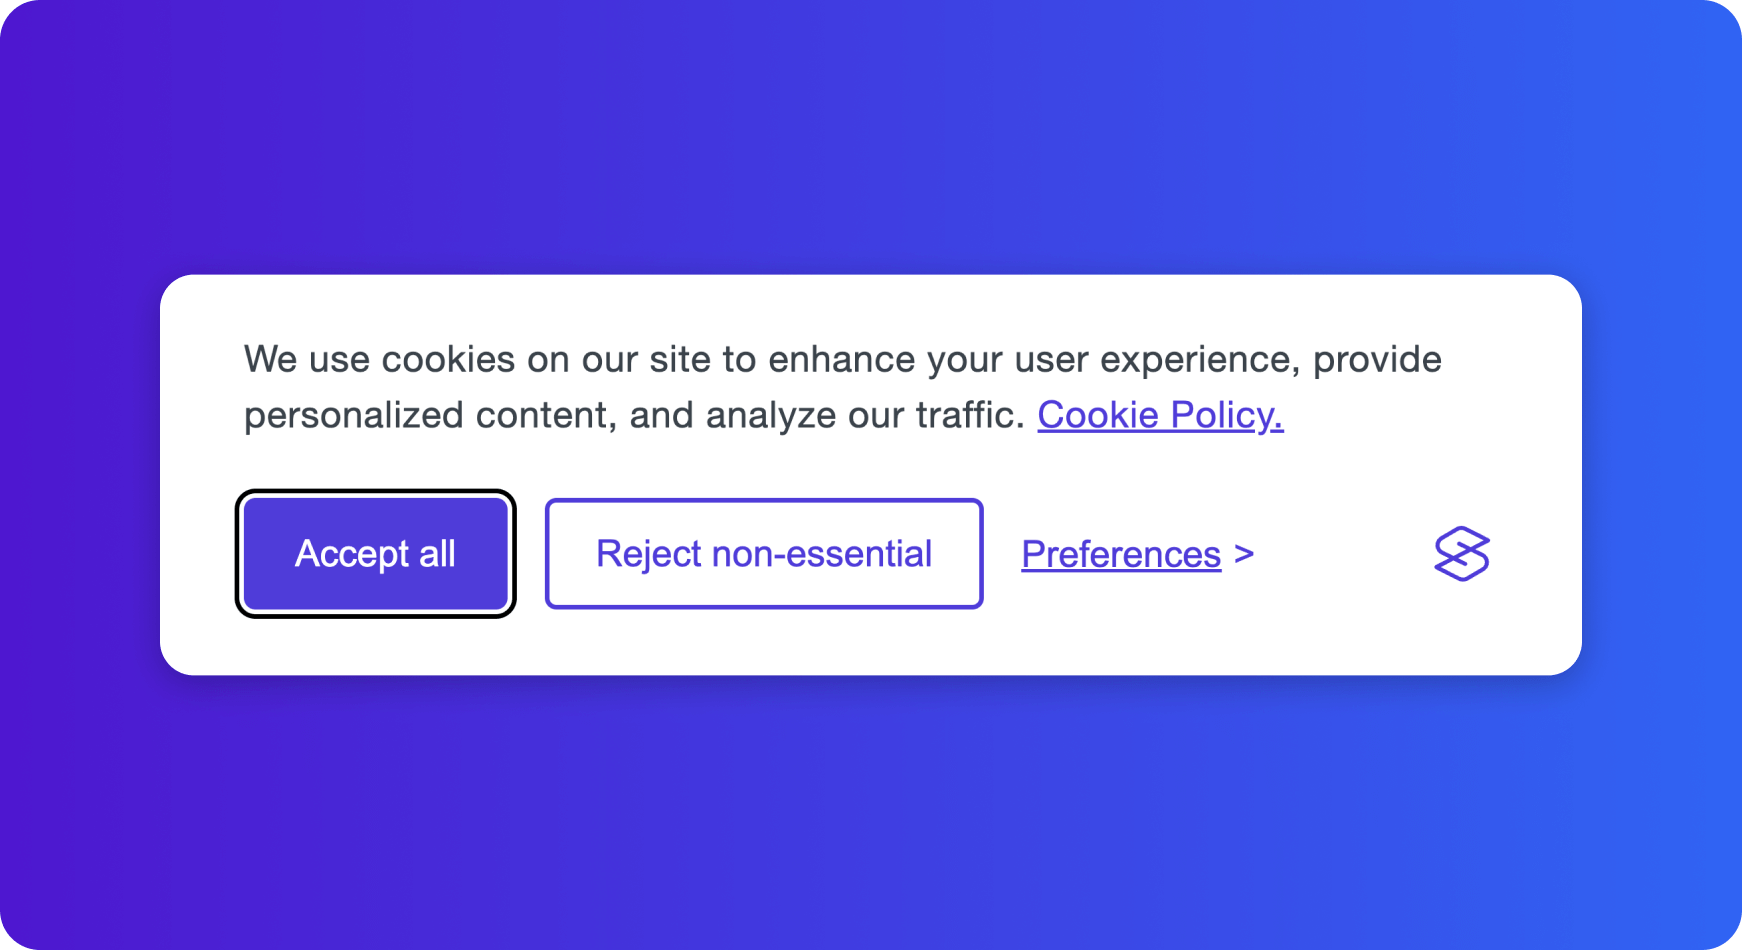
The first time someone visits your site, before they’ve made a consent choice, they’ll see the banner.
The banner explains that they can accept or reject tracking cookies on your site.
Once the user makes a choice — either from the banner or from the preferences modal — the banner won’t appear again. Their choice is restored from localStorage on every subsequent visit, so returning users don’t see the banner unless they re-open the preferences modal to change something.
Tip: the banner position can be customized in the installation wizard.
Preferences
Cookies are grouped by their function. If you’re familiar with Google Consent Mode v2, you’ll know that cookies can be categorized into Essential, Functional, Analytics, Advertising, and others.
You can rename these categories to suit your site, but sticking to standard names (Essential, Analytics, Marketing, etc.) is usually a good idea — it’s what users recognize and what regulators expect.
The user can choose to accept all, some, or none of these. They do this when the banner first appears, or later from the preferences modal.
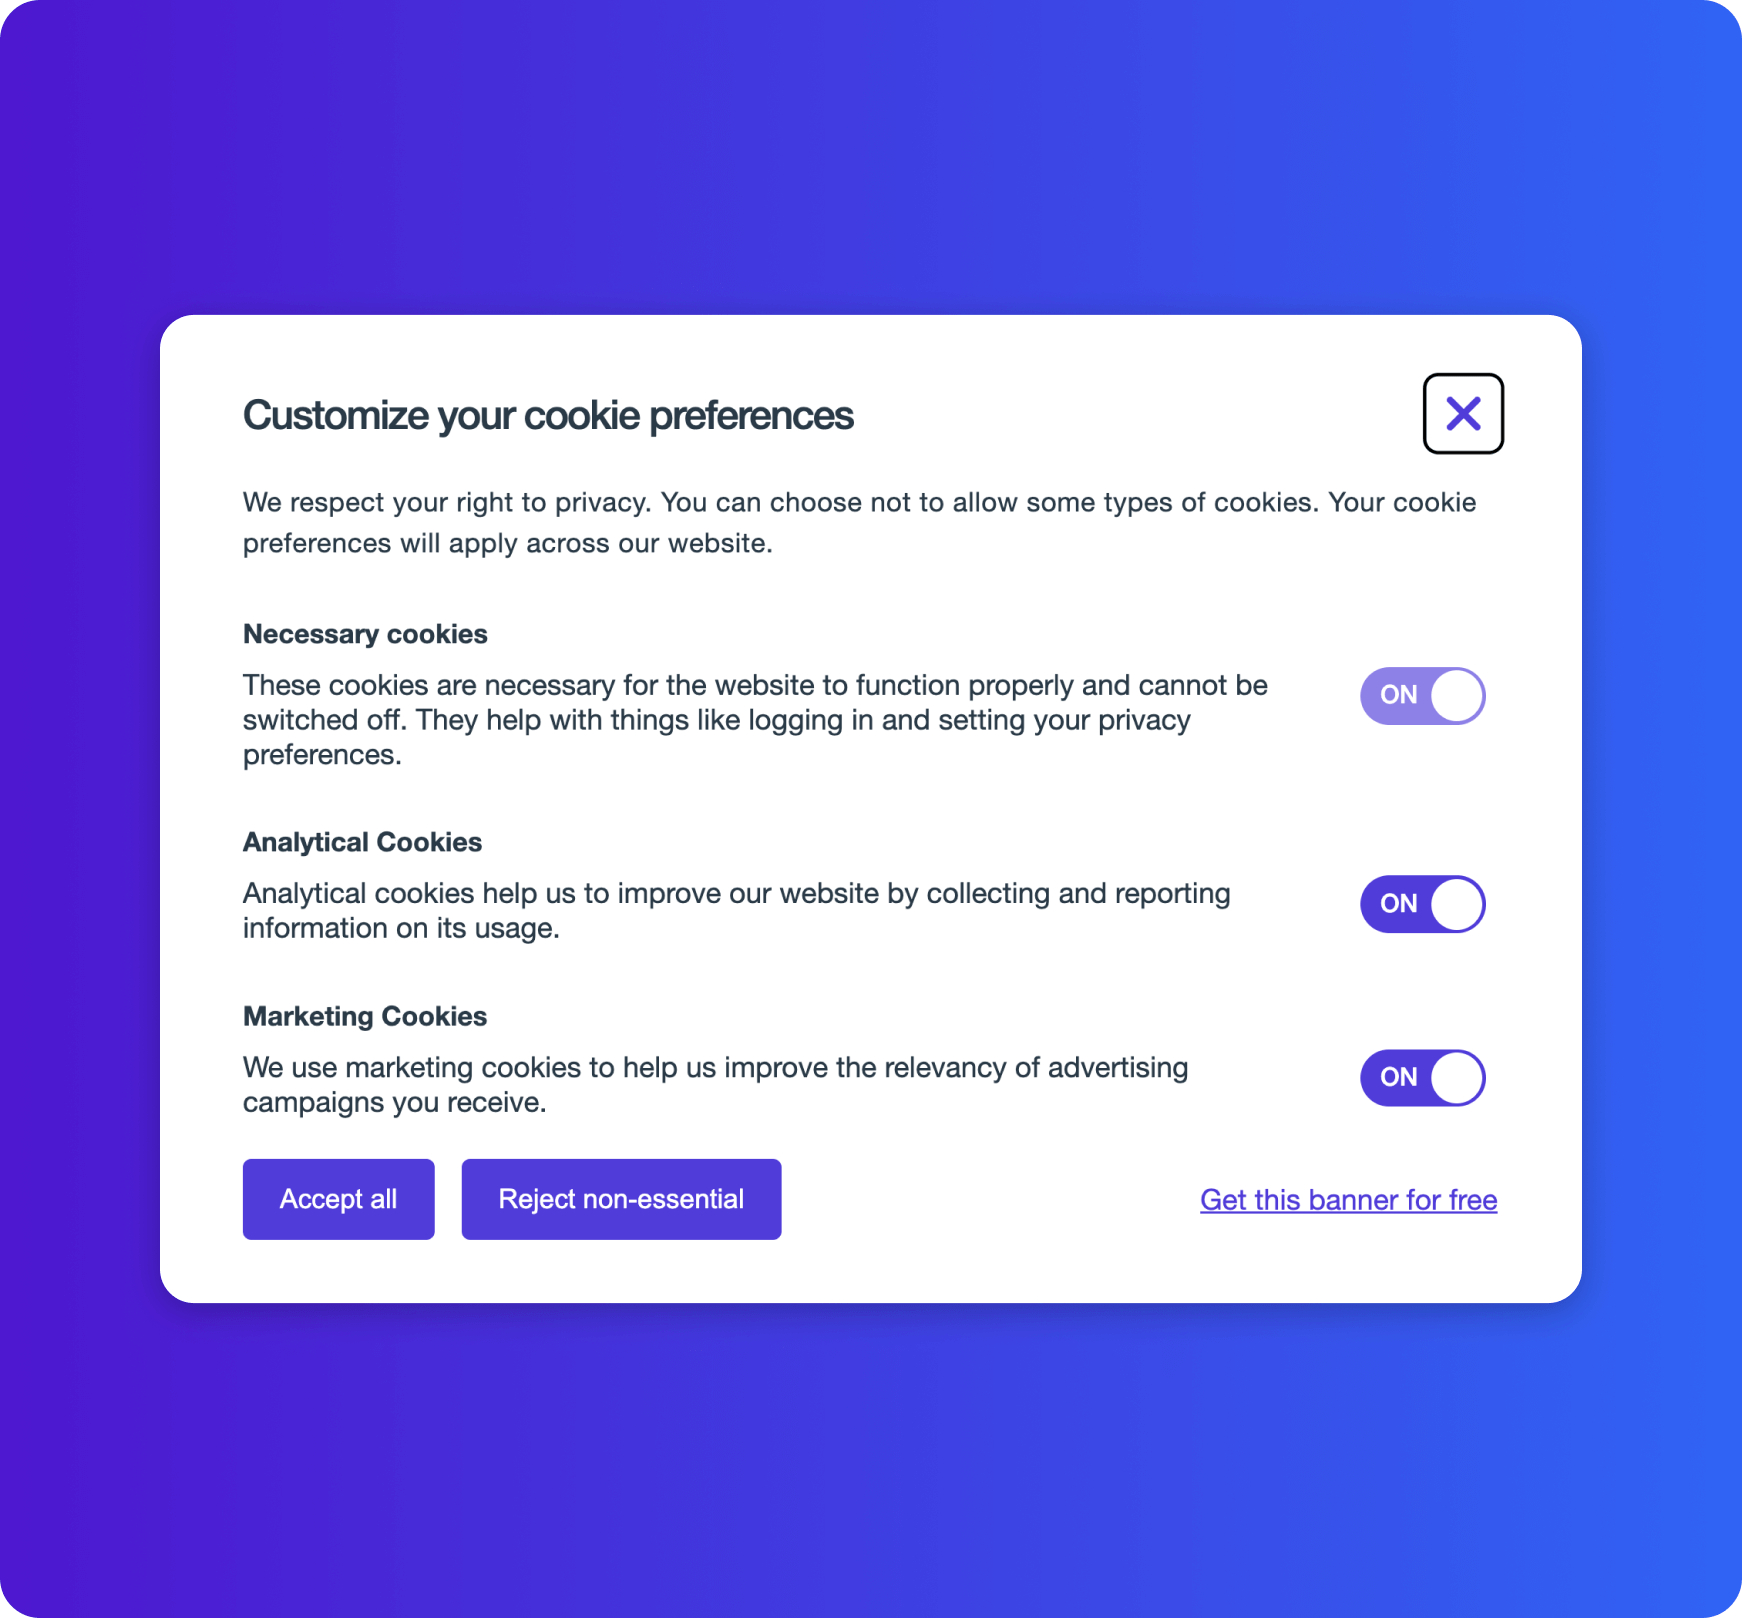
Cookies are grouped into any number of cookie types, each with its own accept/reject option. The user’s choice is stored in localStorage — the Consent Manager itself doesn’t set any cookies to track preferences.
Each cookie type has two configurable behaviors:
- A cookie type can be marked as
required, which prevents the user from turning it off. Use this for cookies the site genuinely needs to function — strictly necessary ones only. - Each cookie type can have a
defaultValue(trueorfalse) that determines whether it’s pre-selected before the user makes a choice.
The user also sees two buttons:
- Accept all — accepts every cookie type.
- Reject non-essential — rejects every cookie type that isn’t marked as required.
Preferences icon
The icon toggles the preferences modal, where users can change the choices they made earlier.
The position (bottom left, bottom right) can be customized in the installation wizard.